
Woodland Scenics – How to Make a Temporary Dam
With this video from Woodland Scenics, modellers can learn how to build a temporary dam to enable them build a water feature to the edge of their layout for enhanced realism.

Before you begin, make sure you have prepared your base properly (refer to the Water Undercoats video for more information). The demonstrator in the video uses a piece of plastic and some Woodland Scenics Foam Tack Glue (WST1444) to make the dam. This plastic is half a millimeter thick, but if you think your dam needs extra support, use thicker plastic. Cut to size to cover your open area, then apply the Foam Tack Glue to the layout and attach the plastic. Make sure to fill any gaps between the plastic and the layout, if there is a hole the water product may leak out of the water feature. Leave the glue to dry completely, then you are ready to pour your water.

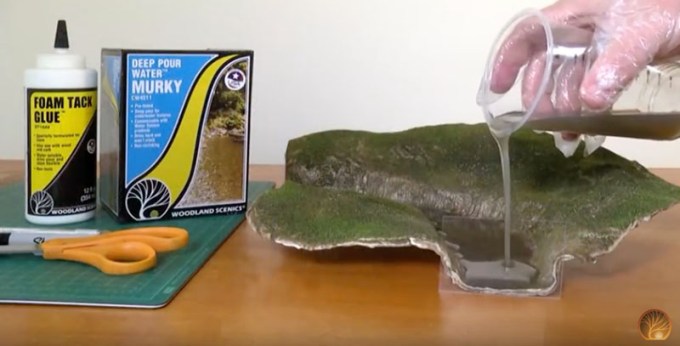
This method works for both Deep Pour Clear (WCW4510) and Deep Pour Murky Water (WCW4510). You can then use multiple layers to get the desired depth for your layout. Wait until the water has fully cured before carefully removing your temporary dam. Now you can enjoy a water feature that reaches the edge of your layout!
This is now a good time to add surface waters such as Water Ripples (WCW4515) and Water Waves (WCW4516).
Click here to visit your nearest Woodland Scenics stockist.
More videos of Woodland Scenics Water System products:


